Create and Manage Suppliers
Modified on Thu, 23 Oct, 2025 at 1:53 AM
Overview
A supplier must be created as an entity in the directory and then it can be converted into a supplier record.
TABLE OF CONTENTS
Create a Supplier
A Supplier can be created via the directory.
1. Click on the Directory tab in the top menu to open up the Directory
2. Click on the Add button on the top right of the screen and select Supplier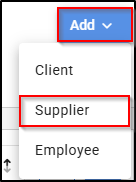
3. Select from one of the two entity types (Individual or Organisation) in the menu.
4. Complete the entity details on the top part of the screen.
5. In the Contact Numbers field, click on the plus sign to add contact numbers. Multiple numbers can be added.
6. In the Addresses field, click on the plus sign to add billing, postal and street addresses. Multiple addresses can be added.
7. Complete the bank details section of the screen. These details will automatically populate on the payment screen when processing payment to the supplier, where EFT is selected.
8. Click Save.

Placing Supplier on Hold
You can place a supplier on hold. Doing so will prevent purchases and payments being made against them.
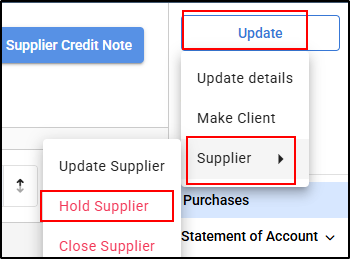
To do this, open the supplier card and, using the Update menu, select Supplier then choose the Hold Supplier option
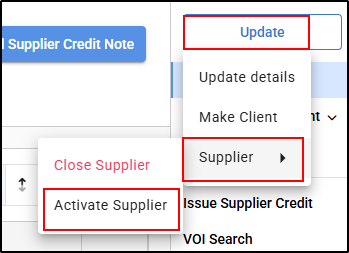
You can reactivate the supplier at any time by returning to the same Update menu and selecting Activate Supplier.
Updating Supplier Details
Supplier details can be later updated as follows:
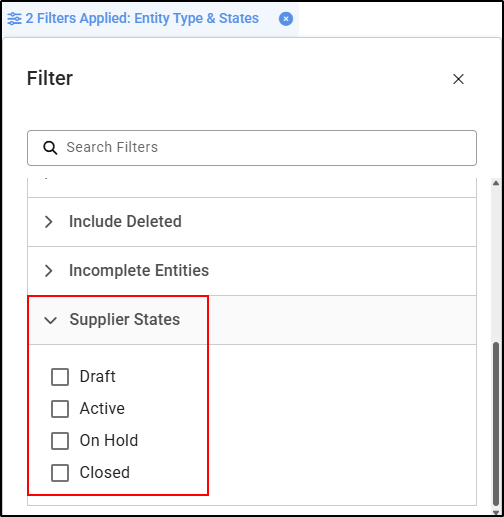
1. Click on Directory - Select Suppliers. Supplier State and Supplier Number should be available and can be displayed by column chooser within the Supplier tab
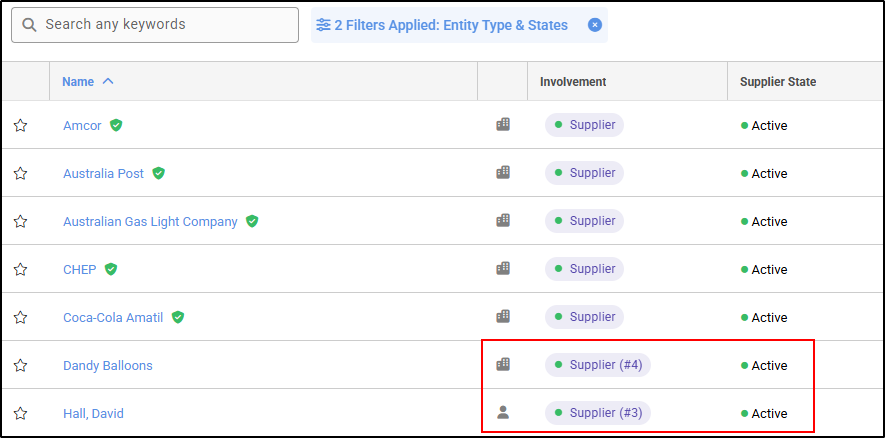
- If the supplier is currently active, their status will be displayed as Active.
- The icon on the left indicates whether the supplier is an Organisation or an Individual.
2. To further search by supplier name ,or partial supplier details click in the search box and enter the details, click on the supplier to open the card

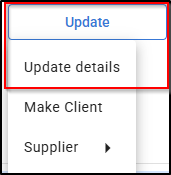
3. To update the supplier detail click update and select Update Details, you can update Contact, Parties, Address, Phone numbers and bank account
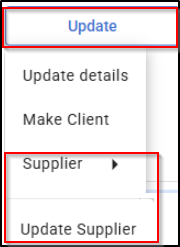
4. To update Supplier VAT Code, Tax Point and Payment Terms, select Update, Supplier and Supplier details
5. The window will pop up, to add in the details
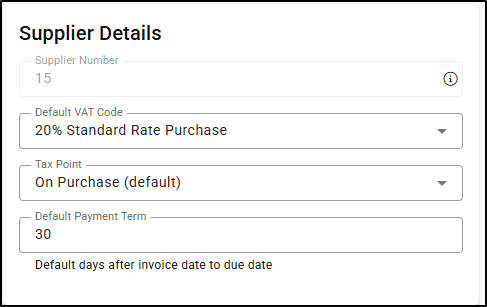
6. Click Save.
7. Click back into Supplier Details to Verify Entity.
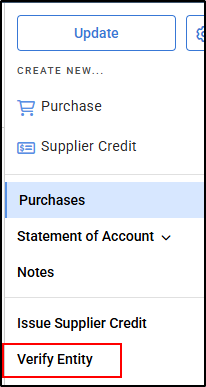
Once this option is selected, a confirmation pop-up will appear at the top centre of your screen.

Once an supplier has been verified, a green check mark will appear to the right of the name.

Ledger Export & Print
The Supplier ledger can be exported or printed as follows:
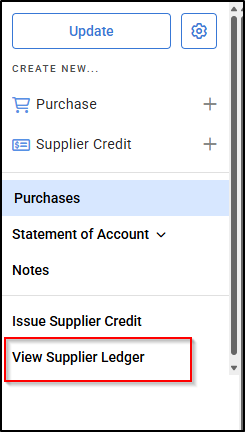
1. Select Directory - Suppliers, Select the relevant Supplier.

2. Select View Supplier Ledger
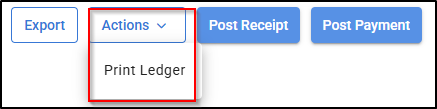
3. Click on Export to export the report into Excel.

4. Or to Print, click on Actions, then select Print Ledger.
5. To print a copy, click on the printer Icon.

6. To Save a copy, click on the drop down arrow and save a copy as PDF, XLS etc.


Was this article helpful?
That’s Great!
Thank you for your feedback
Sorry! We couldn't be helpful
Thank you for your feedback
Feedback sent
We appreciate your effort and will try to fix the article