Client/Trust Receipts
Modified on Thu, 23 Oct, 2025 at 1:38 AM
Overview
There are two ways to record a receipt; one from the Client/Trust Cash Account and the other from the matter card.
In this article, including screenshots, you will see the term 'Client/Trust' when referencing either your Client or Trust Account or Journals. This is to account for different terminology for the same functionality across jurisdictions
TABLE OF CONTENTS
Processing Client/Trust Receipts
Client/Trust receipts can be accessed from several menus of the system:
- Home menu > Create new (plus) button > Client/Trust Receipt
- Home menu > Banking Menu > Client/Trust > Select the relevant Client/Trust Account > New Entry > Receipt
- Dashboards > Accountant Dashboard > Client/Trust Cash Account > Create New> Receipt
- Matter > Client/Trust Ledger > Post Receipt

How to record a Receipt from the Cash Account
1. Click on New Entry to the right of the screen and click on Receipt.

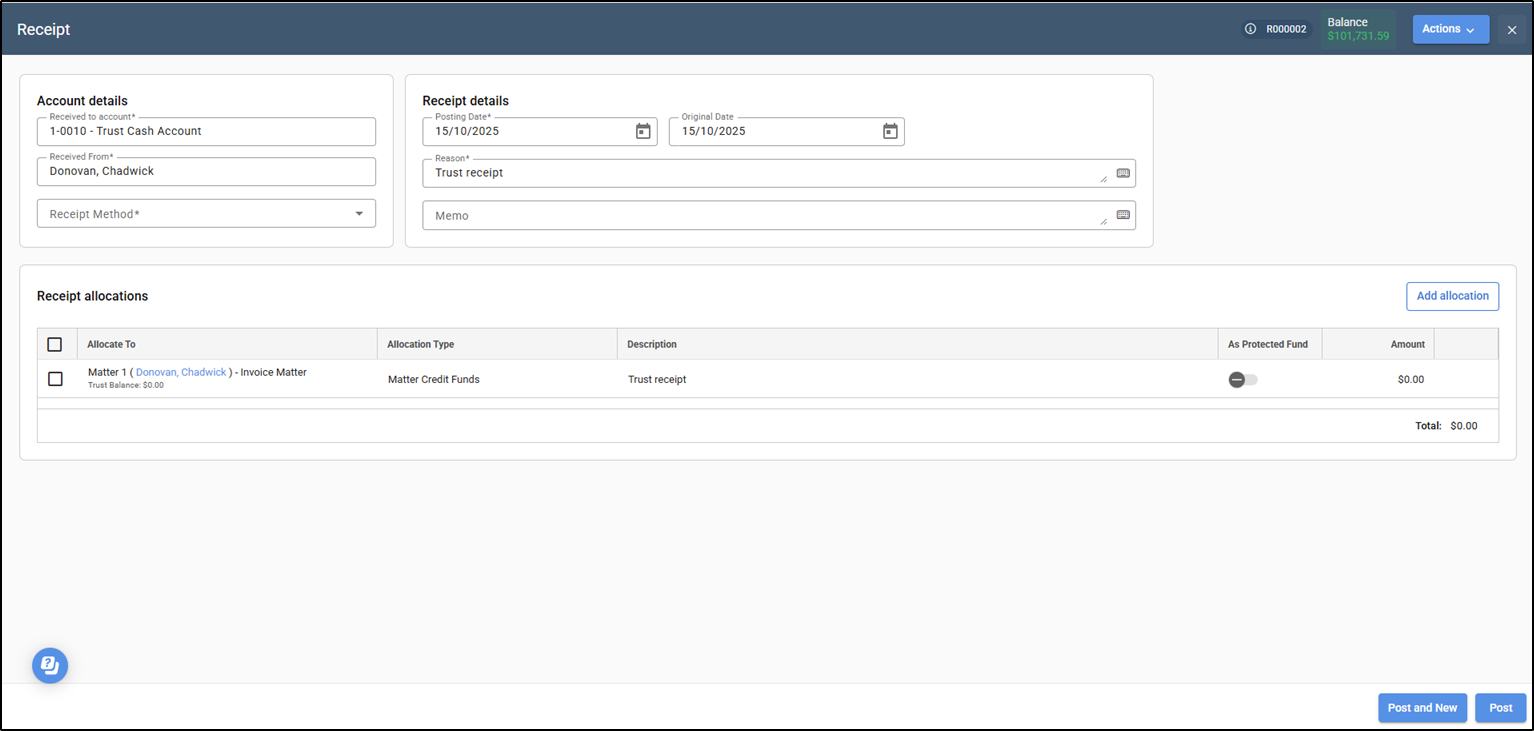
2. On the Receipt screen the Received to Account field will pre-populate with the Client/Trust Account you have selected.

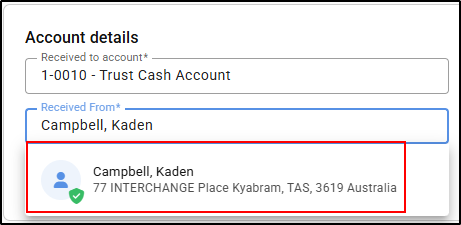
3. In the Received From field start typing the entity name and select from the list or select +NEW to create a new entity card, if the entity has not been created previously.
4. Select the Receipt Method from the drop-down list, a screen will appear to enter the relevant banking information, complete the details and select Save in the bottom right of the screen.

5. If required, amend the Posting Date, this is the date the receipt is being recorded. The Original Date is the actual date that the funds were received.

6. Enter a Reason for the receipt. The Memo field can be used for any internal notes – this is not a mandatory field.

7. Create an allocation for the receipt by selecting the Add allocation button from the top right of the allocation table.

8. In the Allocate to field type the relevant matter number, name or account code the receipt relates to.

9. By default, the Description will populate with the Reason provided to the left and can be amended.

10. If you would like to mark the monies received as protected switch the As Protected Fund toggle to the right by clicking on it, the toggle will turn blue and a Protected Funds Detail screen will appear.

11. Enter details in the Payment to and Amount fields. Select Add in the bottom right of the screen.
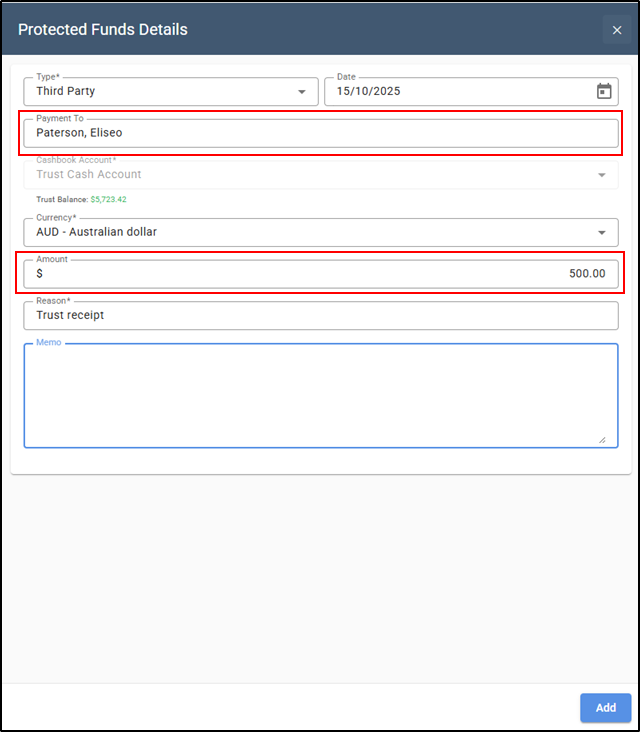
The protected funds details will now appear on the matter card under the Protected funds menu, you can have as many funds marked as Protected as you wish.
12. If additional allocation lines are required, for example if you wish to receipt to multiple matters, select the Add allocation button again. Enter the details in the additional line.

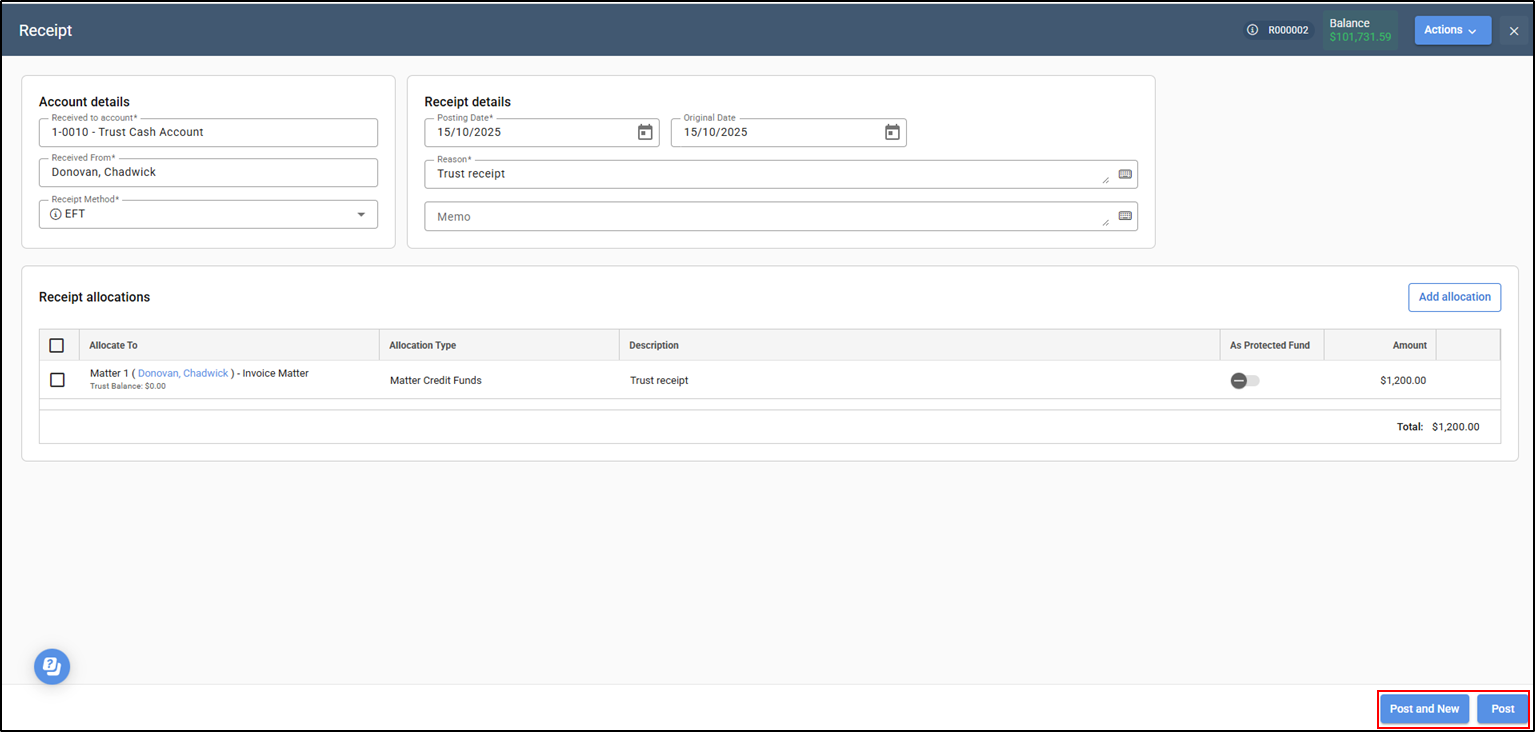
13. The total amount of the receipt will be displayed in the bottom-right of the allocations table and calculate the total value of the receipt from all allocation items.

14. Select Post in the bottom right of the screen to record the receipt.

15. Or Post and New to record the receipt and open a new receipt.

How to Record a Client/Trust Receipt from the Matter Card
1. Select the relevant matter from within the Matters screen.

2. From the Matter Actions menu on the right hand side on the matter card select Client/Trust Ledger.
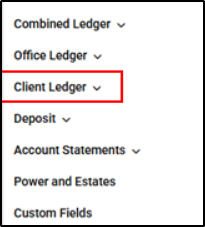
3. Select Post Receipt from the drop-down menu.
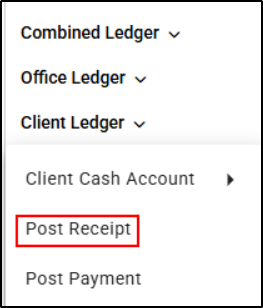
4. Some fields within the Receipt screen will pre-populate, complete any additional fields required.
5. Once all relevant information has been entered, select Post or Post and New in the bottom right of the screen
Was this article helpful?
That’s Great!
Thank you for your feedback
Sorry! We couldn't be helpful
Thank you for your feedback
Feedback sent
We appreciate your effort and will try to fix the article